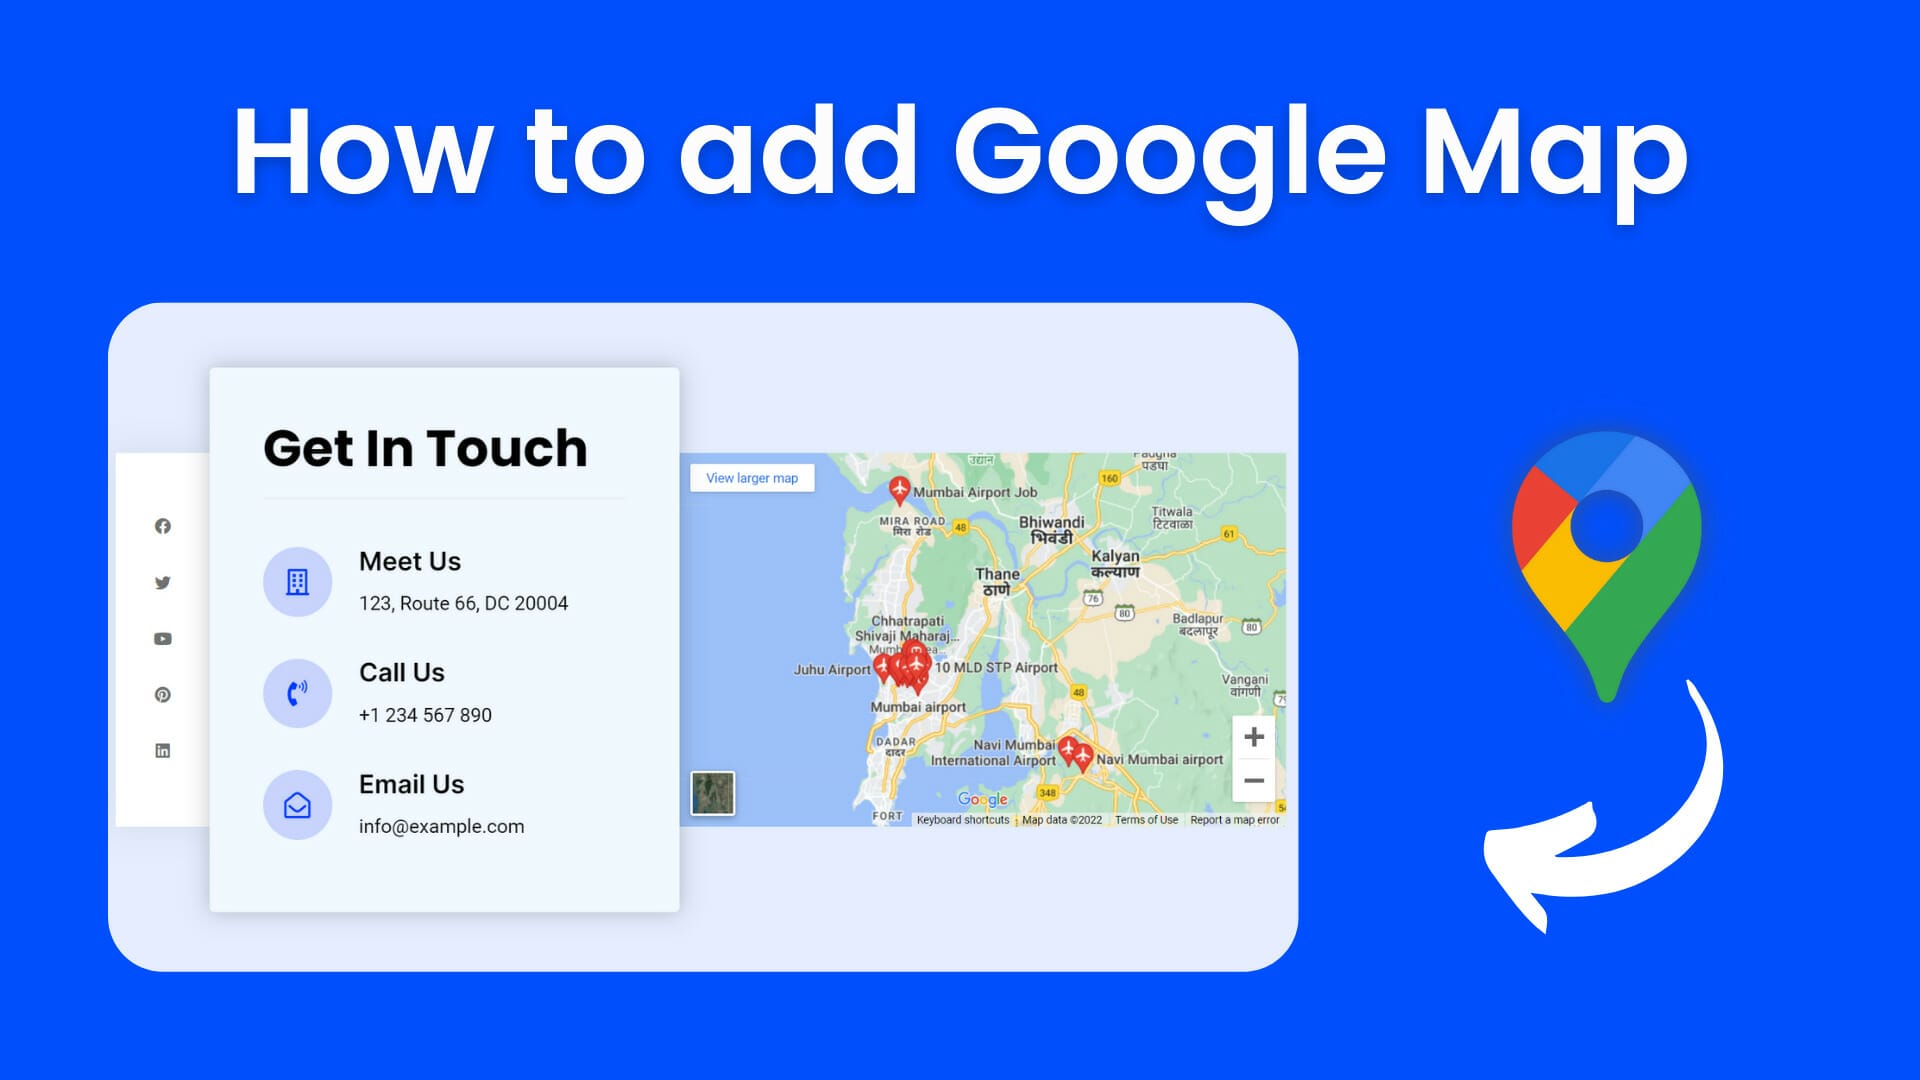
How To Add Google Map To Wordpress Website Using Elementor
In this tutorial, I'm going to show you how to add a google map to the wordpress website using elementor, and make it look fantastic.
How To Add Google Map To Wordpress Website Using Elementor
In this blog, we will learn how to add a google map to the Wordpress website using elementor. Here I am using the elementor free version so you don't need of elementor pro but If you do have not an elementor pro so you can download it from here: https://dcreato.com/go/elementor. So, we will learn the full process with a few steps so let’s begin:
- Place the google map widget
- Customize the google map
- Full-width map
- Bottom line
STEP-1 PLACE THE GOOGLE MAP WIDGET

At first drag and drop the Google map widget from the elements bar and then you will see the option is available to change the location, so type your location here and press enter.
STEP-2 CUSTOMIZE THE GOOGLE MAP

After you change the location, it automatically changes the location on the website page. Now you can zoom in and zoom out the google map to increase and decrease the location area on the map. Under the zoom option here you can also customize the height so, make the height as your requirements and now you are done with a basic google map.

Now if you want that the map will colorful after you hover on that then you have to make some changes on the style tab. So, go to the Style tab and for the normal, click on the pen icon in the CSS filter and decrease the saturation to 0.

Then click on the hover icon and make the saturation as usual 100, nothing change here, and at last click on the green update button to save all the changes. Now if you hover on the map then it will transfer the color from black and white to colorful. But it is happening faster right? So to make some delay or say transition, you will see the transition below the CSS filter, increase the transition speed to 0.5sec and now update the changes and refresh the page. Now if you hover on the map it will slowly become colorful.
STEP-3 FULL-WIDTH MAP

Now you have learned how to add a google map to a wordpress website in an easy way. Now if you want to add a full-width map to your website, how you can do that let's explain.

First, select a one-column structure and drag the drop the google map widget like before. Now select the section by clicking the 3 dot icon and make the content width to "full width" and change the column gap to "no gap".

After you make these two changes your map will become full width. So, that's the process of how you can add Google Maps to your wordpress website with hover effects and how to make a full-width map.
BOTTOM LINE
So, in this blog, you have learned how to add Google Maps to a wordpress website using elementor. Elementor is the most popular and powerful page builder that can create amazing creations with your creativity. The most important thing is that WE MADE A VIDEO ON HOW TO ADD GOOGLE MAP TO WORDPRESS WEBSITE USING ELEMENTOR, here’s the link, you can watch this you will better understand: https://youtu.be/RBAC8uYJ_Aw
That’s all there is to it! We hope that you’ve learned something new today and that you’ll be able to apply it to your own designs.
If you like it then share this post and if you have any questions or feedback on this blog, please leave them in the comments, we will reply to you shortly!
About Author

Hameed Aslam
Hameed Aslam is a website design and development expert, as well as an SEO and content strategist. He is the founder of DCreato and many other online ventures. Hameed's skills with web design, development, SEO, and content marketing have helped him achieve success in online business. He loves to help others learn about these topics so that they can also be successful online.
.jpg)


Latest Comments 0 Responses