Water Wave Text Animation Using Elementor Pro
Here's how you can create a water wave text animation in less than 5 minutes using the latest version of Elementor Page Builder. We'll also show you some other cool animations that you can create with this amazing plugin.

Water Wave Text Animation Using Elementor Pro
If you are tired of using the same heading again and again then you have come here to the right place. here in this blog you will learn how to make water wave text animation using elementor pro. Here we will use some custom CSS that's why we need elementor pro, if you do have not elementor pro so you can download it from here: https://dcreato.com/go/elementor
So we will learn the full process in a few steps so let's begin:
- Place the heading widget
- Customize the heading
- Paste the CSS code
- Customize the animation
- Bottom line
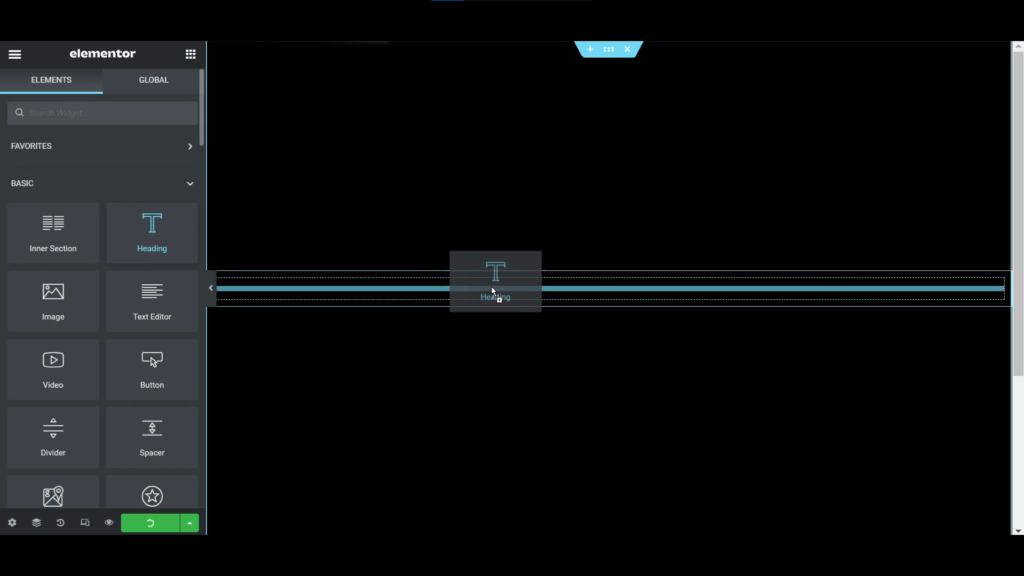
STEP-1 PLACE THE HEADING WIDGET

At first, you have to select a column structure then give a height like here I'm giving 400vh, now go to the style tab to customize it and here I am making it to full black colors.
STEP-2 CUSTOMIZE THE HEADING
After that, we have to add a heading widget, here I am writing elementor text then going to the Style tab to customize it I'm making it to pure white color then customize the fonts like her I am giving POPPINS font and give the height to 800.

Here you can see I'm giving the text size 7.6 VW but I'm not giving the size in PX because if you give the text size in VW then the text will be automatically resizeable on all devices that's why I do it in VW. Now you can customize the text to your requirements.

After updating the page I'm giving the text alignment to the center and then duplicating the heading.
STEP-3 Paste the CSS code

Here is the first heading CSS given below, copy the CSS code and paste it on the custom CSS.
selector{ -webkit-text-stroke: 2px #FF005A; } ![]()
After pasting the CSS you have to go to the style tab then click on text color and make it transparent and update the page to save all the changes.

Now select the second heading and here is the CSS code is given below copy it and paste it on the second heading custom code. Now you may think that the second heading is not visible to us but let me show you a few steps to fix this.
selector{ -webkit-animation: water 4s ease-in-out infinite; animation: water 4s ease-in-out infinite; } @-webkit-keyframes water{ 0%, 100%{ -webkit-clip-path: polygon(0 80%, 9% 61%, 22% 51%, 41% 53%, 55% 63%, 65% 72%, 76% 78%, 90% 81%, 100% 80%, 100% 100%, 0% 100%); clip-path: polygon(0 80%, 9% 61%, 22% 51%, 41% 53%, 55% 63%, 65% 72%, 76% 78%, 90% 81%, 100% 80%, 100% 100%, 0% 100%); } 50%{ -webkit-clip-path: polygon(0 80%, 15% 81%, 31% 75%, 41% 68%, 51% 59%, 64% 53%, 79% 53%, 92% 64%, 100% 80%, 100% 100%, 0% 100%); clip-path: polygon(0 80%, 15% 81%, 31% 75%, 41% 68%, 51% 59%, 64% 53%, 79% 53%, 92% 64%, 100% 80%, 100% 100%, 0% 100%); } } @keyframes water{ 0%, 100%{ -webkit-clip-path: polygon(0 80%, 9% 61%, 22% 51%, 41% 53%, 55% 63%, 65% 72%, 76% 78%, 90% 81%, 100% 80%, 100% 100%, 0% 100%); clip-path: polygon(0 80%, 9% 61%, 22% 51%, 41% 53%, 55% 63%, 65% 72%, 76% 78%, 90% 81%, 100% 80%, 100% 100%, 0% 100%); } 50%{ -webkit-clip-path: polygon(0 80%, 15% 81%, 31% 75%, 41% 68%, 51% 59%, 64% 53%, 79% 53%, 92% 64%, 100% 80%, 100% 100%, 0% 100%); clip-path: polygon(0 80%, 15% 81%, 31% 75%, 41% 68%, 51% 59%, 64% 53%, 79% 53%, 92% 64%, 100% 80%, 100% 100%, 0% 100%); } } STEP-4 Customize the animation

Now select the first heading and go to the advanced tab and select the absolute position. After that, both will mix with each other so to select in an easier way open the navigator and select the second heading and click on the absolute position.

Now select the color code of the first heading stroke means you have to copy to color code from the first heading and then select the second heading and click on text color and paste the color code on the color picker. After updating the page you will see it will work properly.

After doing all of this if you want to change the animation speed you have to put the duration like here I'm selecting 1s, you have to write two times which is written above the image you can follow the steps after that if you want to again back to the normal speed then again write the 4s two times like above the image that's how you can create water wave effect text animation using elementor pro.
BOTTOM LINE
So, in this blog, you have learned how to make water wave text animation in the elementor pro. Elementor is the most popular and powerful page builder that can create amazing creations with your creativity. The most important thing is that WE MADE A VIDEO ON WATER WAVE TEXT ANIMATION USING ELEMENTOR PRO, here’s the link, you can watch this you will better understand: https://youtu.be/UzQT5q6LlnQ
That’s all there is to it! We hope that you’ve learned something new today and that you’ll be able to apply it to your own designs.
If you have any questions or feedback on this blog, please leave them in the comments, we will reply to you shortly!
About Author

Hameed Aslam
Hameed Aslam is a website design and development expert, as well as an SEO and content strategist. He is the founder of DCreato and many other online ventures. Hameed's skills with web design, development, SEO, and content marketing have helped him achieve success in online business. He loves to help others learn about these topics so that they can also be successful online.
.jpg)


Latest Comments 0 Responses