How To Create Glowing Effect On Button On Hover In Elementor
Here in this blog, you will gonna learn how to create a glowing effect on the button on the hover in the elementor using some CSS code.
How To Create Glowing Effect On Button On Hover In Elementor
If you are bored of using the one color hover button even gradient button and you want to do something more attractive and eye-catchy then you have come here to the right place. Here in this blog, you will gonna learn how to create a glowing effect on the button on the hover in the elementor using some CSS code. Don't worry, I'll put the all CSS code below, you have to just copy it and paste it into the custom CSS.
But here I use the elementor custom CSS feature to add custom CSS so, if you don't have elementor pro you can download it from here: https://dcreato.com/go/elementor So, we will learn the full process with a few steps so let’s begin:
- Place the button widget
- Put the CSS code
- Bottom line
STEP-1 PLACE THE BUTTON WIDGET
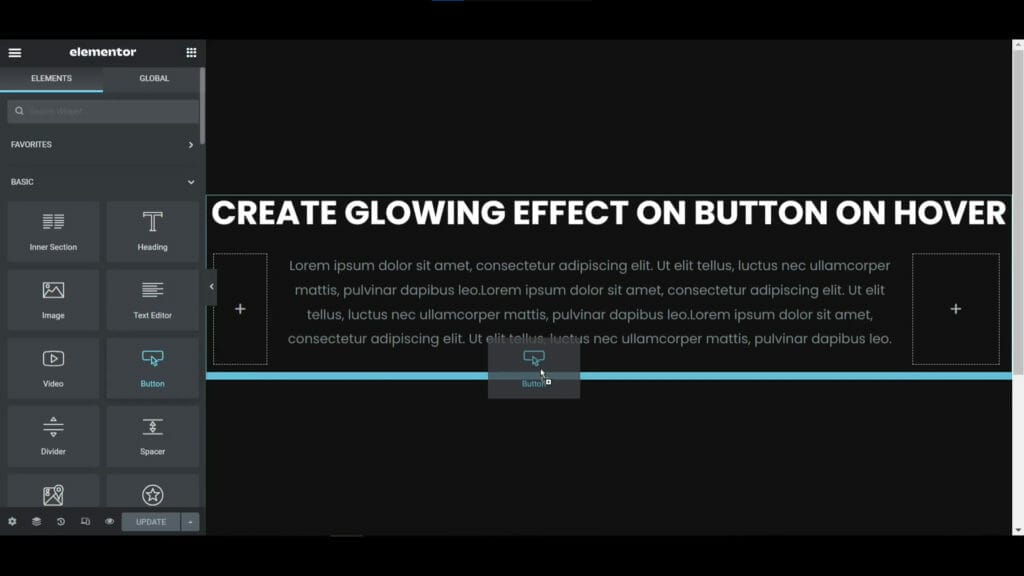
First, install and activate the elementor pro, and then as usual place the button widget from the elements widget bar. Then go to the style tab and customize the button as your wish before putting the CSS. But don't do anything with the button background color because after putting the CSS the button background color will not work. So, here I've changed the typography, text color, size and font weight, border-radius, and line height.
STEP-2 PUT THE CSS CODE
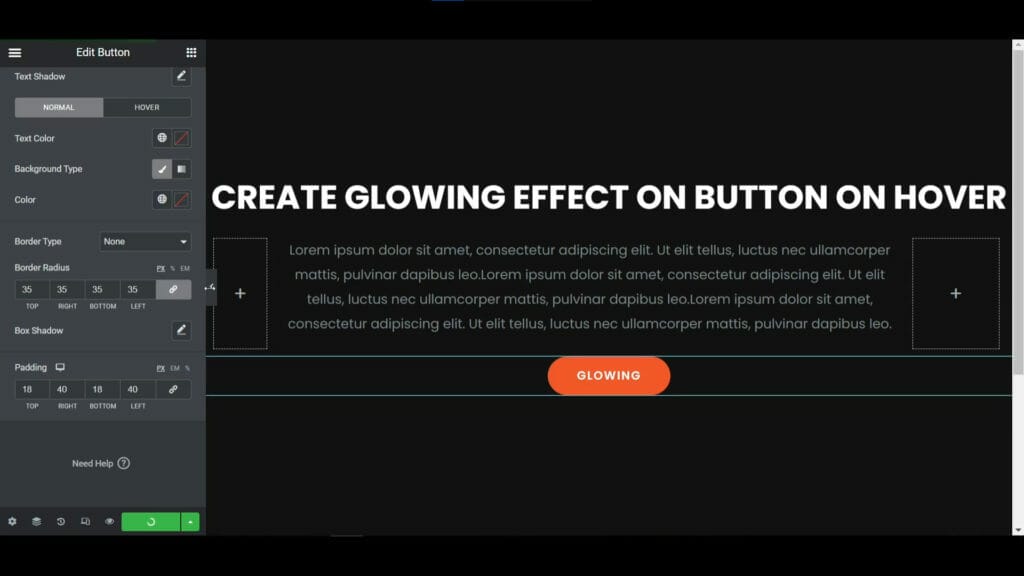
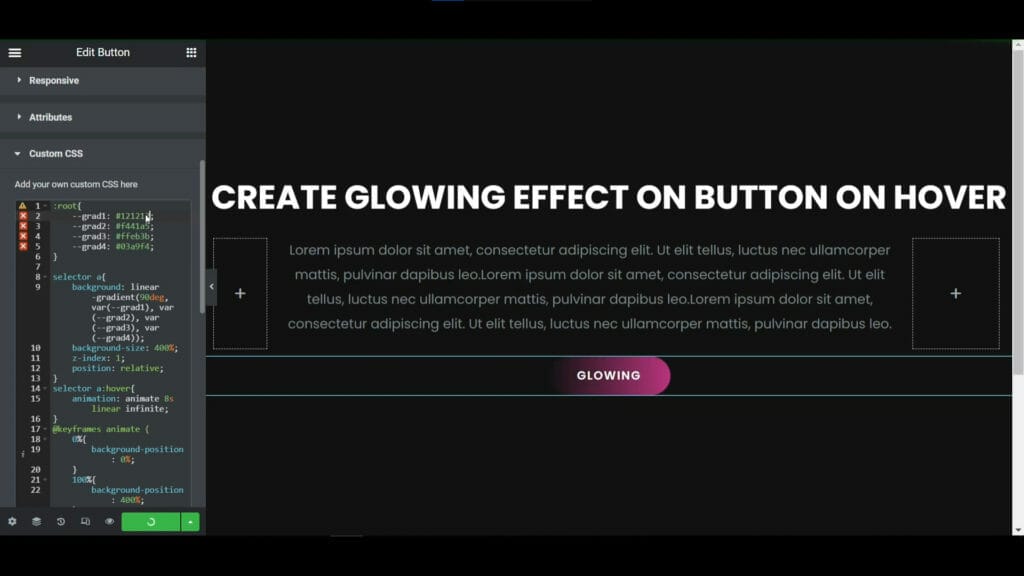
After customization, the button looks like this, now time to put the CSS step by step. To paste the custom CSS go to the advanced tab and scroll down and you will see the custom CSS option So, here you have to paste the CSS. At first, you have to paste the first CSS for the gradient effect, then paste another one. which is given below:
:root{ --grad1: #03a9f4; --grad2: #f441a5; --grad3: #ffeb3b; --grad4: #03a9f4; } selector a{ background: linear-gradient(90deg, var(--grad1), var(--grad2), var(--grad3), var(--grad4)); background-size: 400%; z-index: 1; position: relative; } selector a:hover{ animation: animate 8s linear infinite; } @keyframes animate { 0%{ background-position: 0%; } 100%{ background-position: 400%; } } 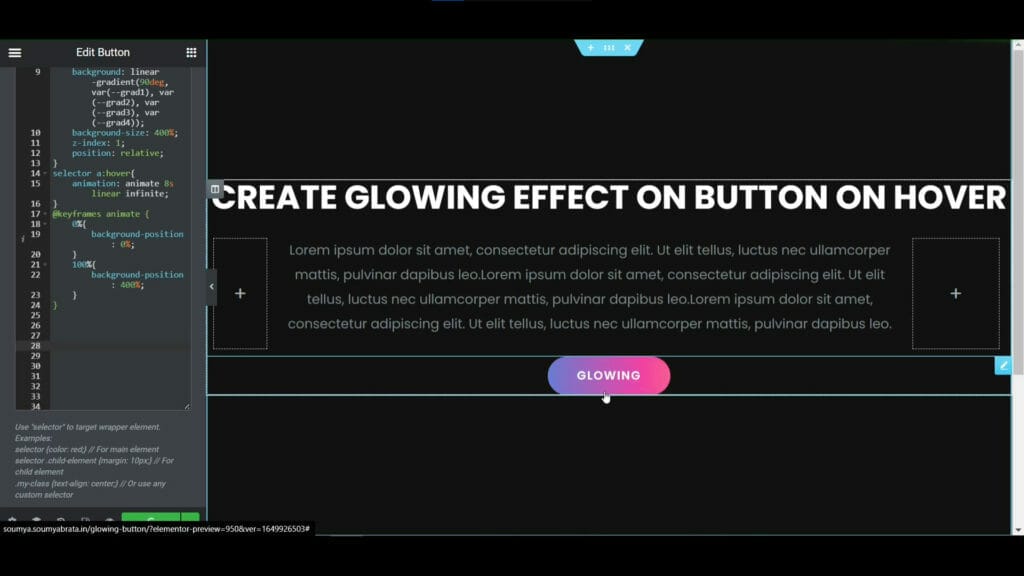
After putting the first CSS our button will look like this. Now if you hover on it then it animates from right to left with four gradient colors. That's looking so awesome. Now we have to add one more CSS code snippet to create the glowing effect. So, here's the CSS code is given below, you have to paste it under the first one:
selector a:before{ content: ''; position: absolute; top: -5px; left: -5px; right: -5px; bottom: -5px; z-index: 0; background: linear-gradient(90deg, var(--grad1), var(--grad2), var(--grad3), var(--grad4)); background-size: 400%; border-radius: 40px; opacity: 0; transition: 0.5s; } selector a:hover:before{ filter: blur(20px); opacity: .6; animation: animate 8s linear infinite; }
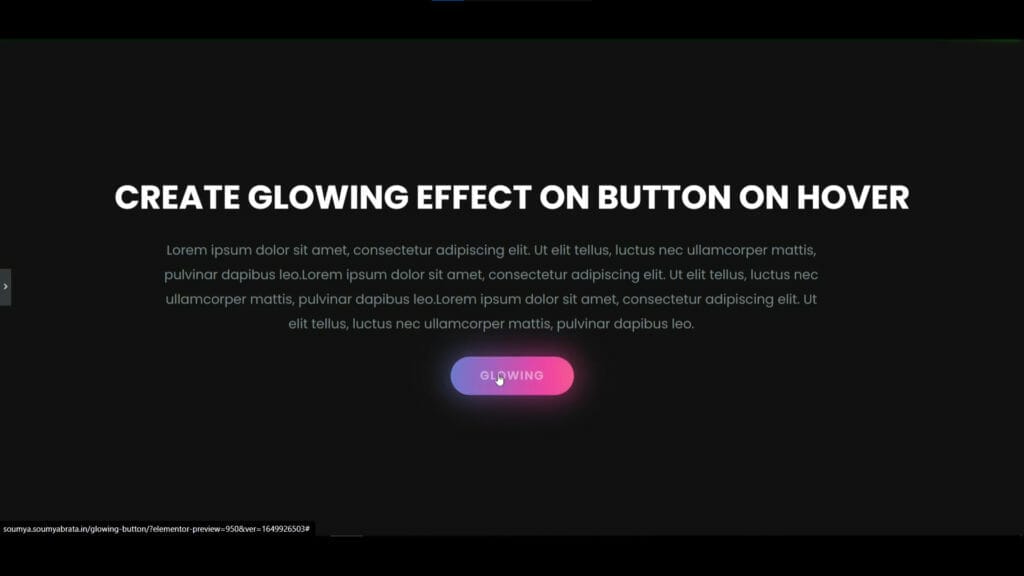
After pasting the second CSS, when you hover on the button you will see the button is glowing with amazing gradient colors. That looks pretty good. Here in the CSS, you can choose also your favorite colors.
If you have ideas about CSS then you can fully customize it means you can customize the glowing area, animation speed everything but if you don't have any idea about CSS then you can follow my steps. To change the four gradient colors you have to change only the first 4 line color, don't do anything with others. Just change the first four colors which are shown above in the images. For example, here I've changed the first color as #121212 means a light black color, so you can see on the left side of the button the black color is showing.
BOTTOM LINE
So, here is the process of how you can create a glowing effect on the button on hover using elementor pro page builder. But if you don't have elementor pro then you can watch this video: https://youtu.be/Tdoim7oXwck In this video, we talk about how you can add custom CSS in the elementor free version in an easy way.
The most important thing is that WE MADE A VIDEO ON HOW TO CREATE GLOWING EFFECT ON BUTTON ON HOVER IN ELEMENTOR, here’s the link, you can watch this you will better understand: https://youtu.be/4Ump7qCXF7k
That’s all there is to it! We hope that you’ve learned something new today and that you’ll be able to apply it to your own website. If you like it then share this post and if you have any questions or feedback on this blog, please leave them in the comments, or you can comment on youtube, we will reply to you shortly!
About Author

Hameed Aslam
Hameed Aslam is a website design and development expert, as well as an SEO and content strategist. He is the founder of DCreato and many other online ventures. Hameed's skills with web design, development, SEO, and content marketing have helped him achieve success in online business. He loves to help others learn about these topics so that they can also be successful online.
.jpg)


Latest Comments 0 Responses