How To Create Neon Text Effect In Elementor
In this blog, you will learn how to create a neon text effect in elementor pro. We'll go over the steps together as we create a neon text effect in elementor pro!

How To Create Neon Text Effect In Elementor
In this blog, you will learn how to create a neon text effect in elementor pro. Here is the used elementor pro custom CSS feature, if you don't have elementor pro then you can download it from here: https://dcreato.com/go/elementor So, we will learn the full process with a few steps so let’s begin:
- Place the heading widget
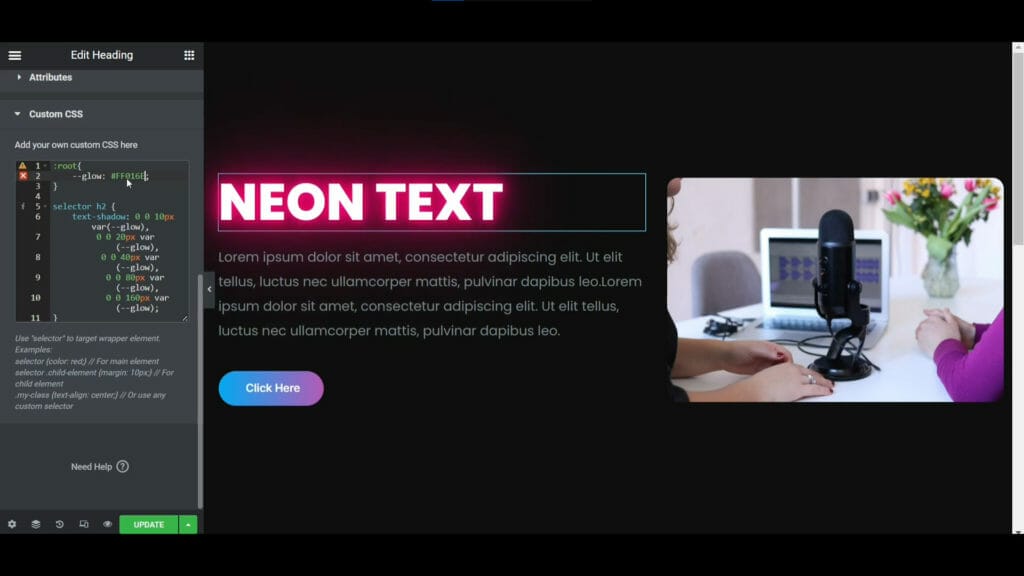
- Paste the CSS
- Bottom line
STEP-1 PLACE THE HEADING WIDGET
At first, make sure that you activate the elementor pro. Here is my case as you can see the license option is available and elementor pro is activated now. After that what I show you in the intro, I'm gonna delete that so I can show you step by step from scratch.
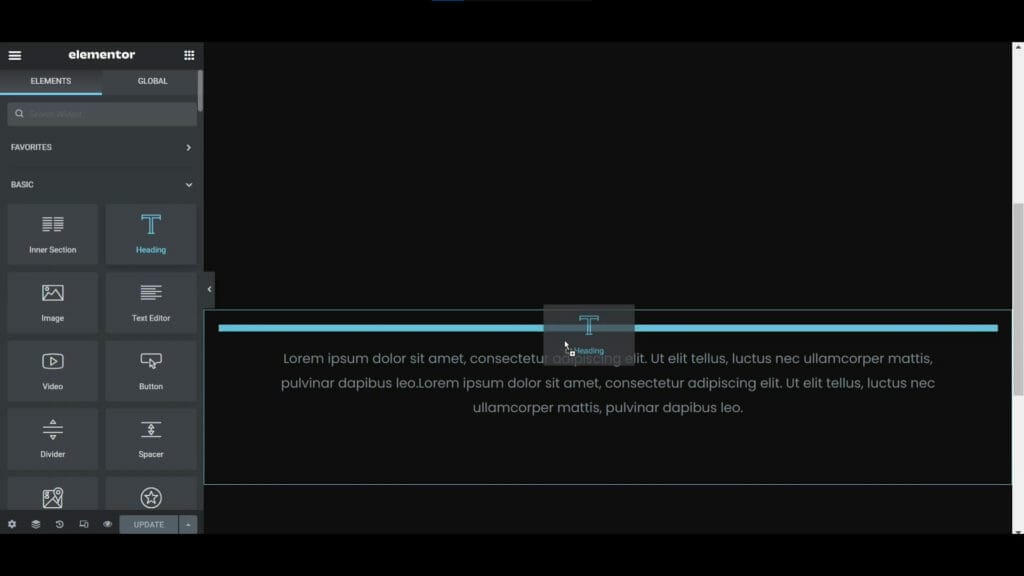
After deleting all the elements there is no heading. Now we have to place one heading widget. After placing the heading you can customize it as your wish here I have changed the font, size, font weight, color, etc.
STEP-2 PASTE THE CSS

Now after some customization, we have to paste the CSS code to create a neon effect on the text. After pasting the CSS code on the custom CSS, your heading will look above the image. Just after pasting, it will automatically glow with a neon effect. All CSS code will be given below, just you have to copy and paste it on your custom CSS.
:root{ --glow: #03bcf4; } selector h2 { text-shadow: 0 0 10px var(--glow), 0 0 20px var(--glow), 0 0 40px var(--glow), 0 0 80px var(--glow), 0 0 160px var(--glow); }
Now you can change the glow color easily. Here in the first line, you will see a glow color, just here you have to put your own color. Like here I have changed it to maroon color so the glow color also become in maroon color.

Now move on to the next part which is how you can create neon blinking text using CSS. So, as usual, again you have to place one heading widget and customize it as your wish. As like before here I have changed its font-weight, color, size, etc. Then paste the CSS code which is given below. Again just after pasting the CSS code, the heading will automatically start blinking with a neon effect.
:root{ --dark: #0D1C45; --white: #ffffff; --glow: #03bcf4; } selector h2 { animation:animate 5s linear infinite; } @keyframes animate { 0%,18%,20%,50.1%,60%,65.1%,80%,90.1%,92%{ color: var(--dark); text-shadow: none; } 18.1%,20.1%,30%,50%,60.1%,65%,80.1%,90%,92.1%,100%{ color: var(--white); text-shadow: 0 0 10px var(--glow), 0 0 20px var(--glow), 0 0 40px var(--glow), 0 0 80px var(--glow), 0 0 160px var(--glow); } }
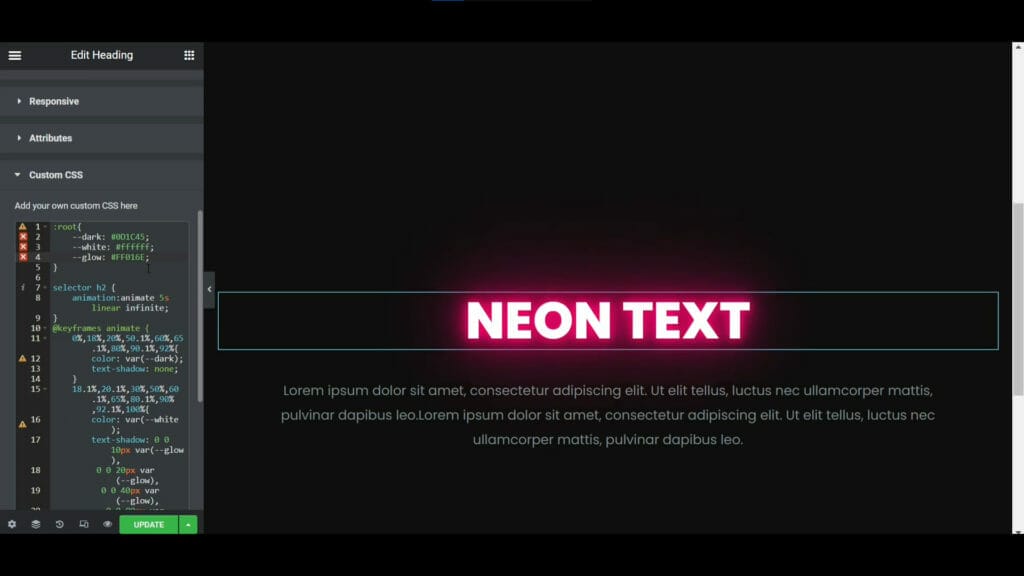
Again with the same process, you can change its color as well. In the 4th line of the CSS here is the glow color, here you have to put your favorite color. That's how you can change the glow color of both neon headings.
BOTTOM LINE
So, here is the process of how you can create a neon text effect using elementor pro and CSS. You can use this neon heading in your website banner heading or you can use it on the coming soon page, that will look so amazing.
The most important thing is that WE MADE A VIDEO ON HOW TO CREATE NEON TEXT EFFECT IN ELEMENTOR, here’s the link, you can watch this you will better understand: https://youtu.be/kurZIwQQ-js
That’s all there is to it! We hope that you’ve learned something new today and that you’ll be able to apply it to your own website. If you like it then share this post and if you have any questions or feedback on this blog, please leave them in the comments, or you can comment on youtube, we will reply to you shortly!
About Author

Hameed Aslam
Hameed Aslam is a website design and development expert, as well as an SEO and content strategist. He is the founder of DCreato and many other online ventures. Hameed's skills with web design, development, SEO, and content marketing have helped him achieve success in online business. He loves to help others learn about these topics so that they can also be successful online.
.jpg)


Latest Comments 0 Responses